Drawer dividers are a great way to neaten up space in your cupboard or dresser drawers. Are you, like me, inspired by those early Mari Kondo videos, and her whole ethos of tidy and orderly!?
Well these paper organisers are helpful indeed. Importantly you can create them from recyled printer paper! They are also quick and easy to make. What a bonus!
Hints-
- Use the white unprinted side uppermost for a lovely clean look.
- Alternatively, use the printed side uppermost for a serviceable typographic feel!
- No cutting or gluing in this project. Just folding!

Make a few extra. Then keep them on hand, flat packed on the side of the drawer. Afer a while, if one of the compartments gets grubby, it can easily be replaced.
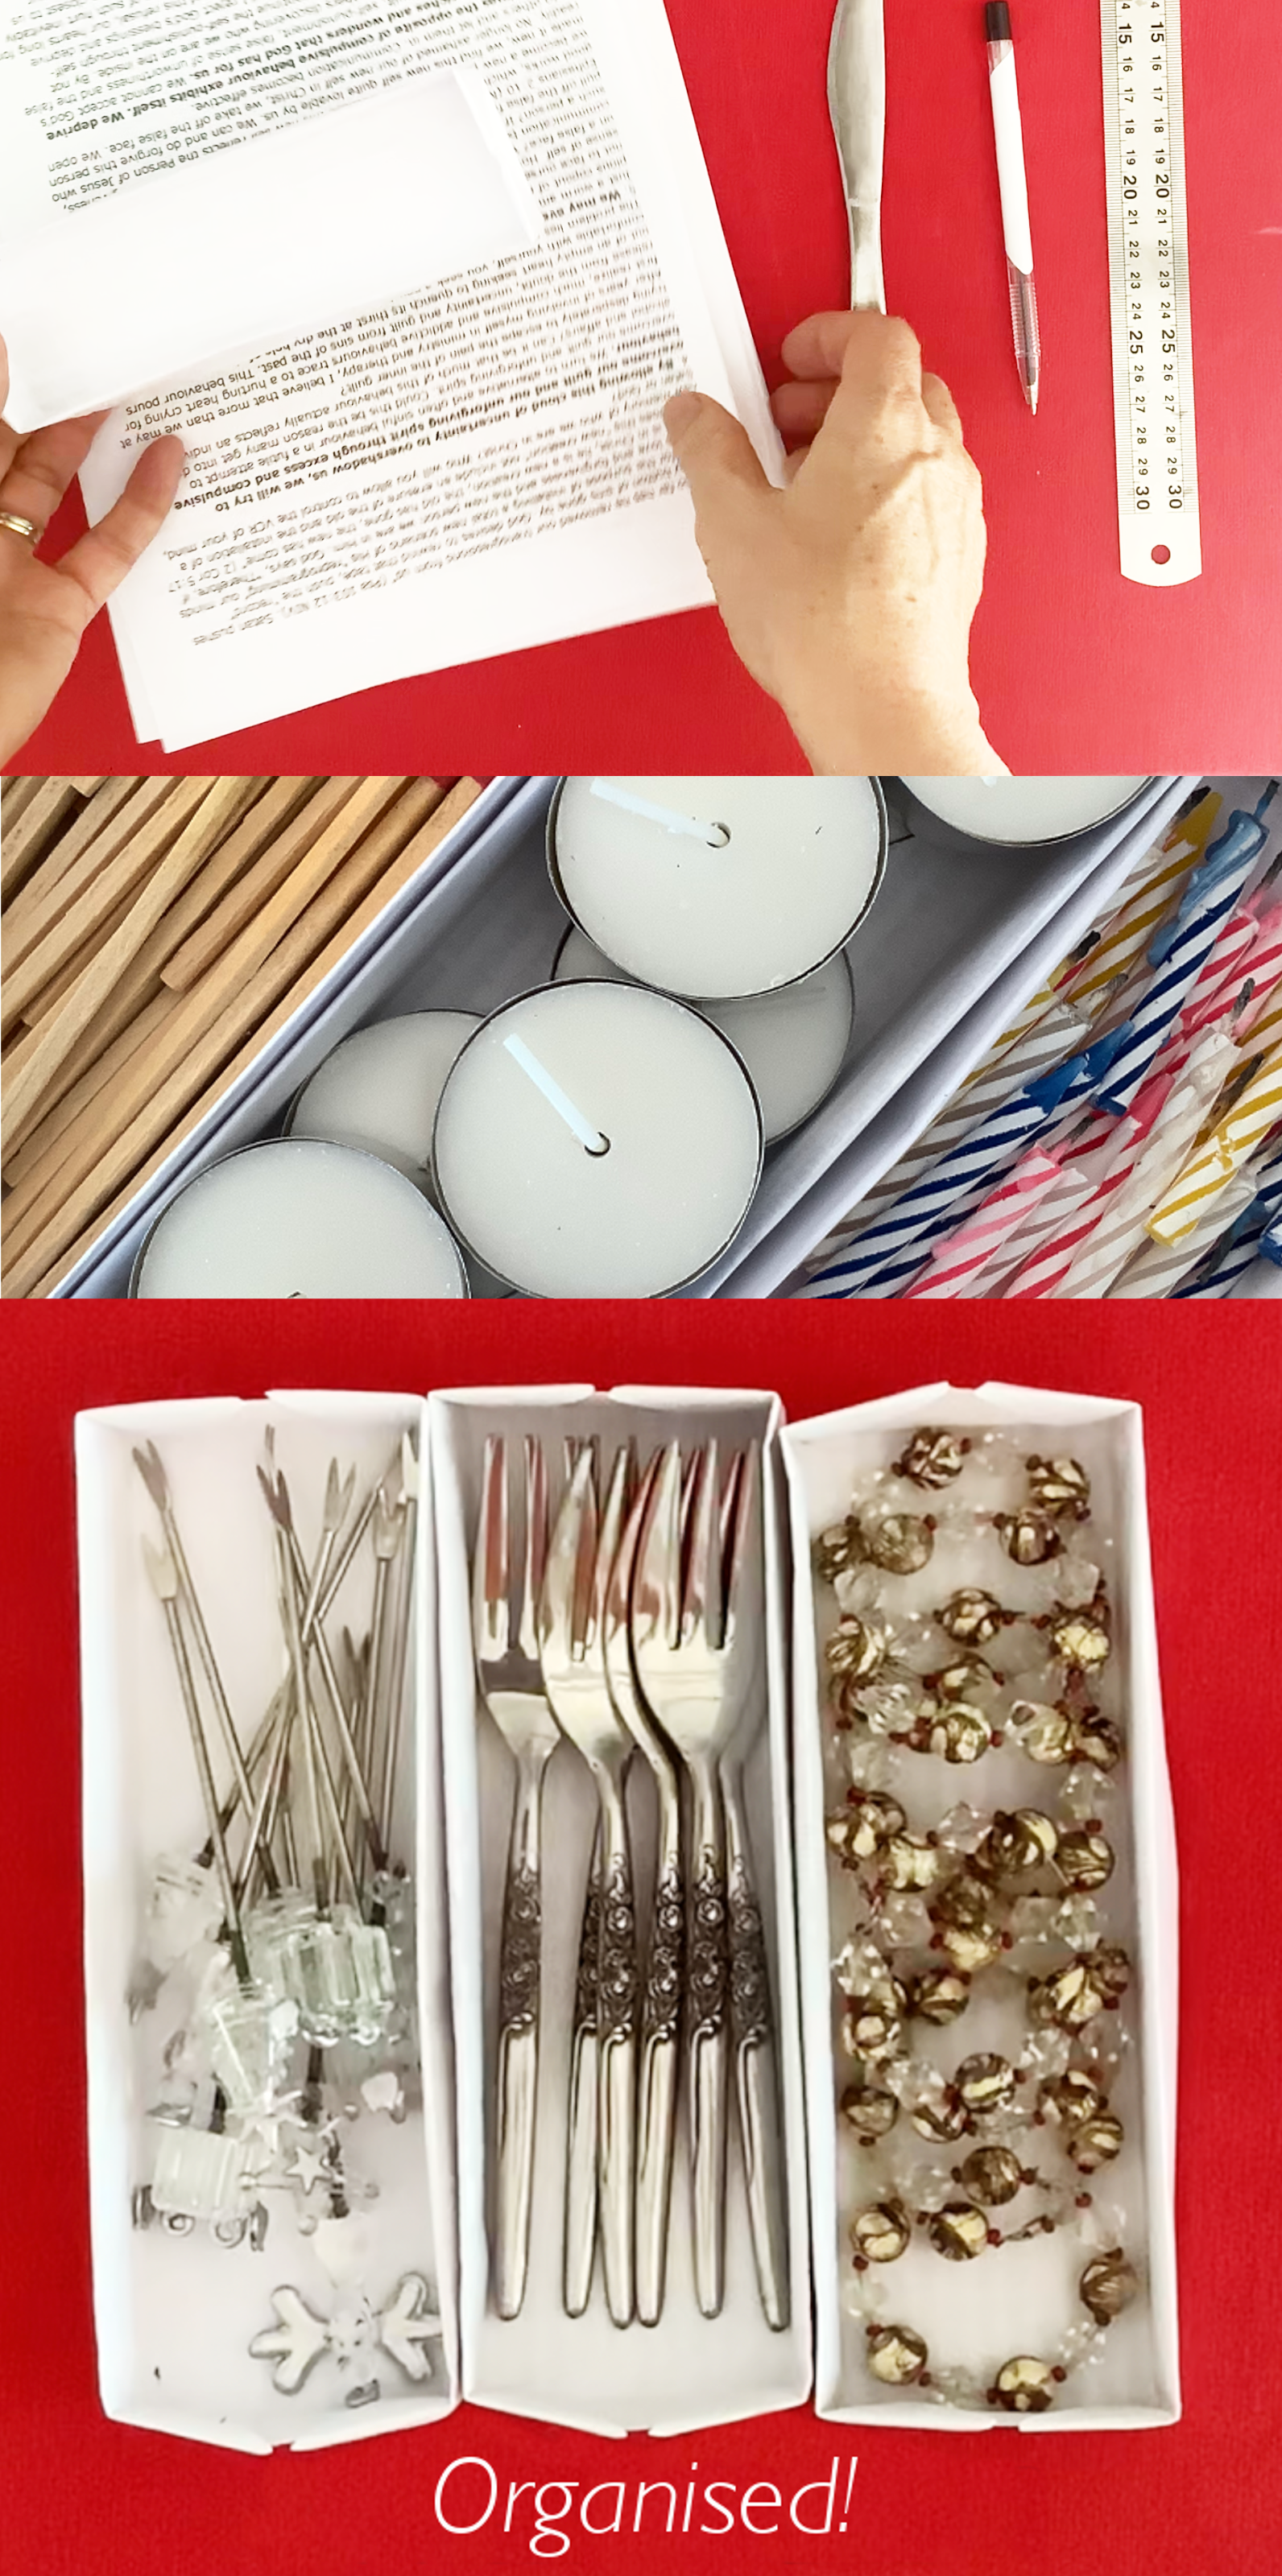
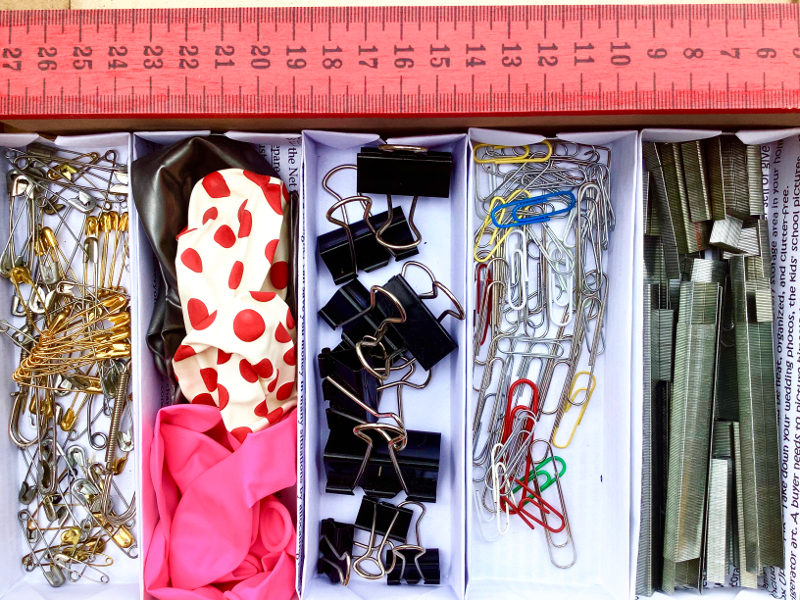
In this video you will see a complete box made up from a single piece of previously used A4 printer paper. No scissors or glue are needed for this project. As a result, it is very environmentally friendly. Eventually, with a bit of practice, you will generate enough to bring order to many parts of your home or office. Use them to tidy up make-up, stationery, candles, and various other bits and pieces.
These drawer divider boxes keep craft project bits well sorted too. Do you remember the feather jacket commission? The little boxes kept the feathers sorted into colour and type as I worked.
Draw Dividers – How to DIY
Bear in mind – this item is made from a single sheet of printer paper, folded in half to make a firmer double thickness. Because of this, the whole way through the project, treat the double thickness as though it were a single sheet of paper.
You will need...
A 4 printer paper . a ruler. a pen or pencil an knife or boning tool.
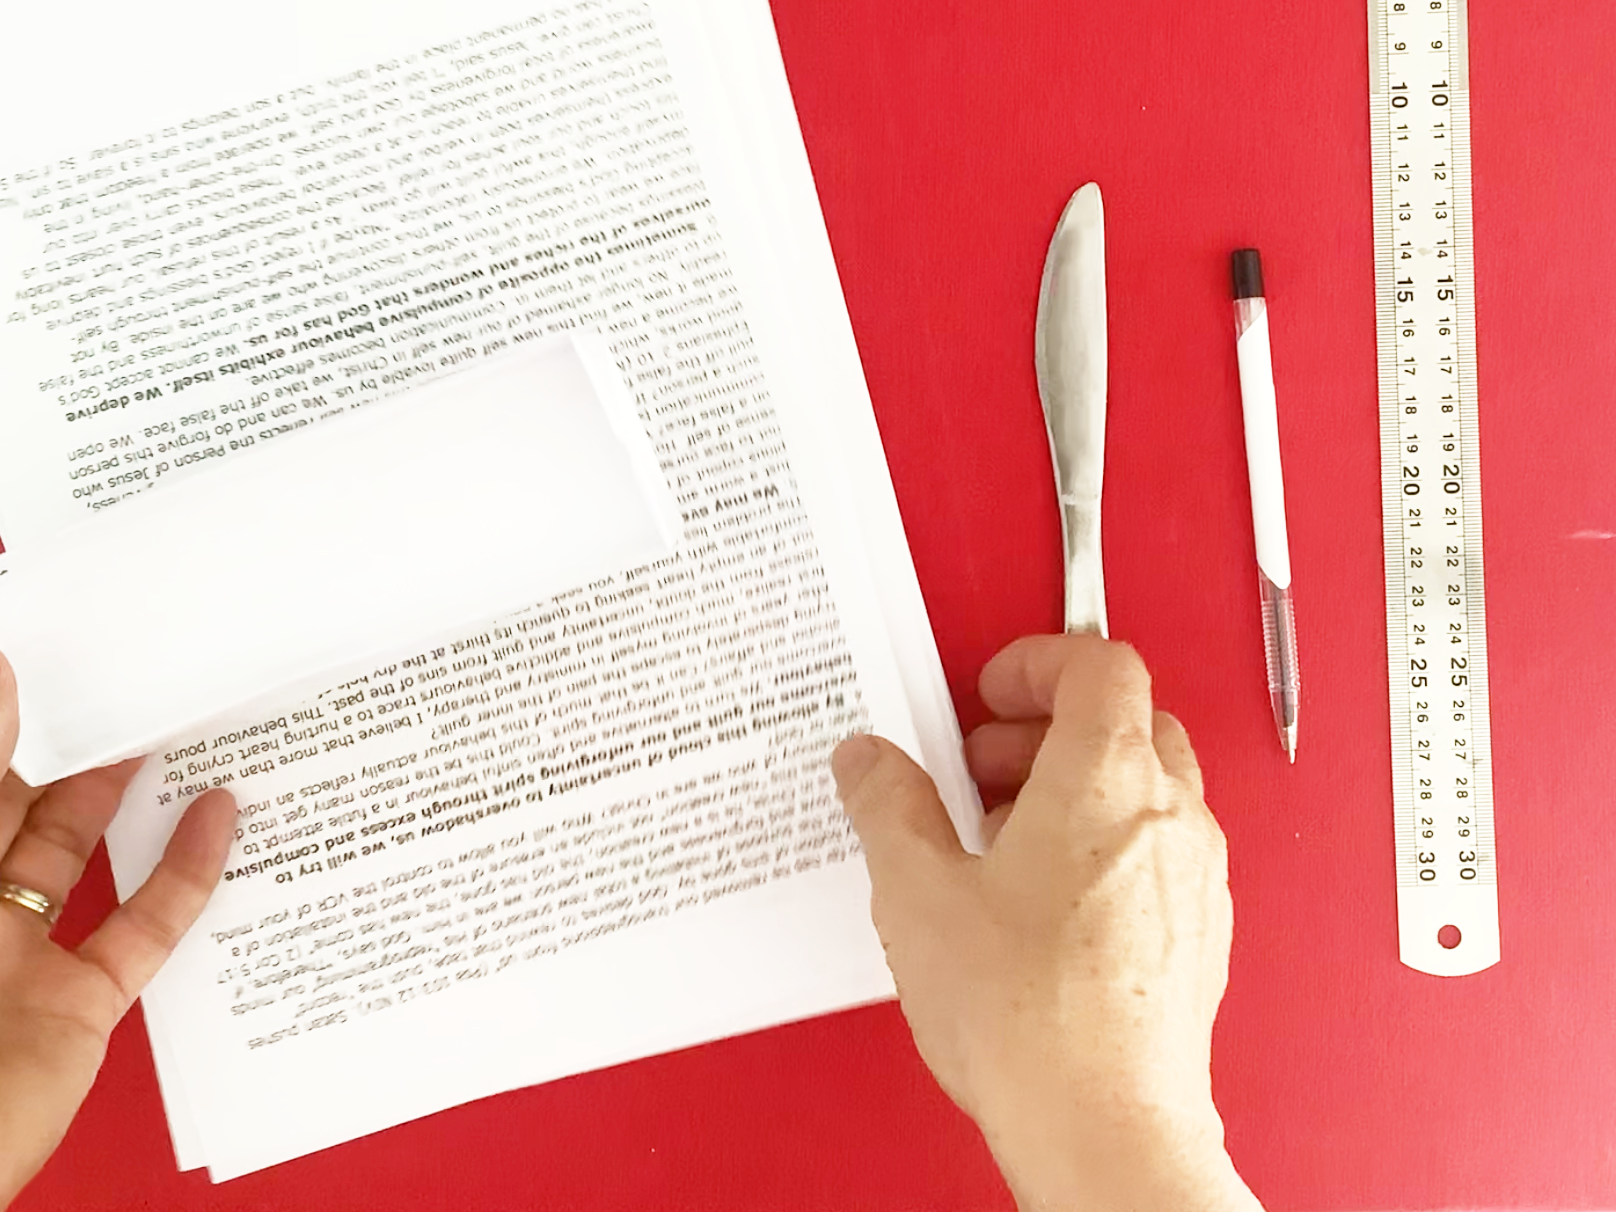
Firstly, fold the A4 sheet in half
The print side inside, and the white side outside.
Then mark into 3rds.
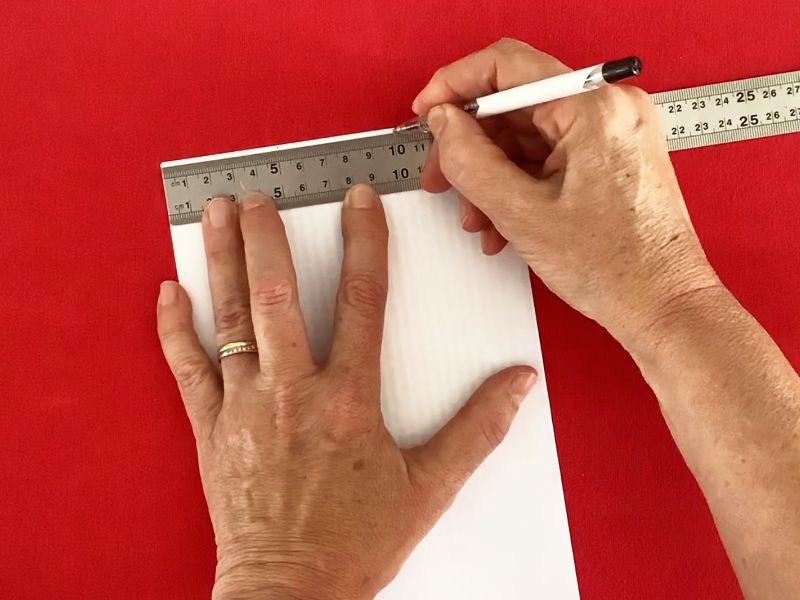
Measure the short sides, divide by 3 and mark on the top and bottom edge.
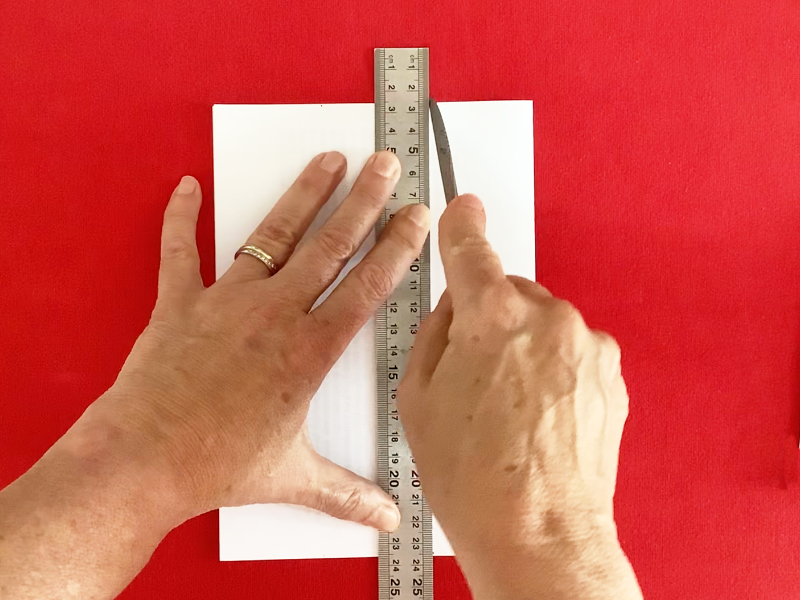
Use your knife or boning tool to Score the 2 fold lines between the marks
Use a ruler to guide each line

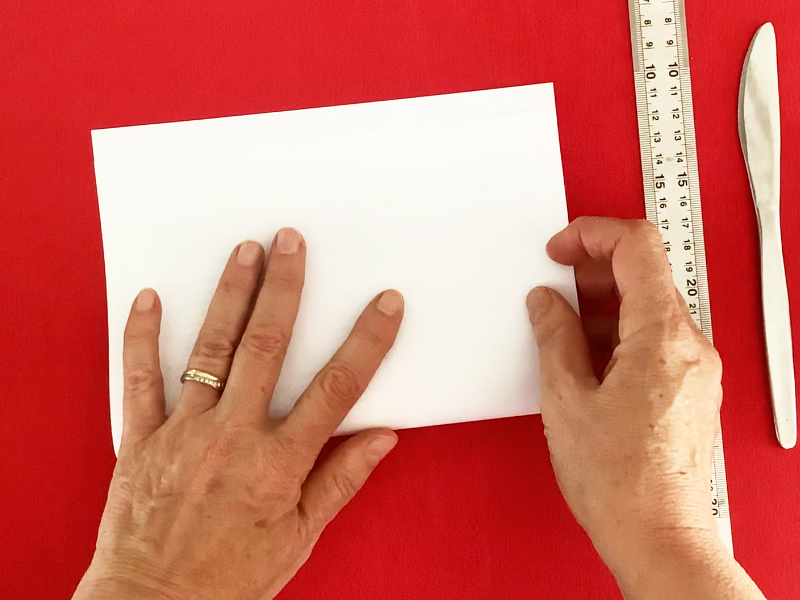
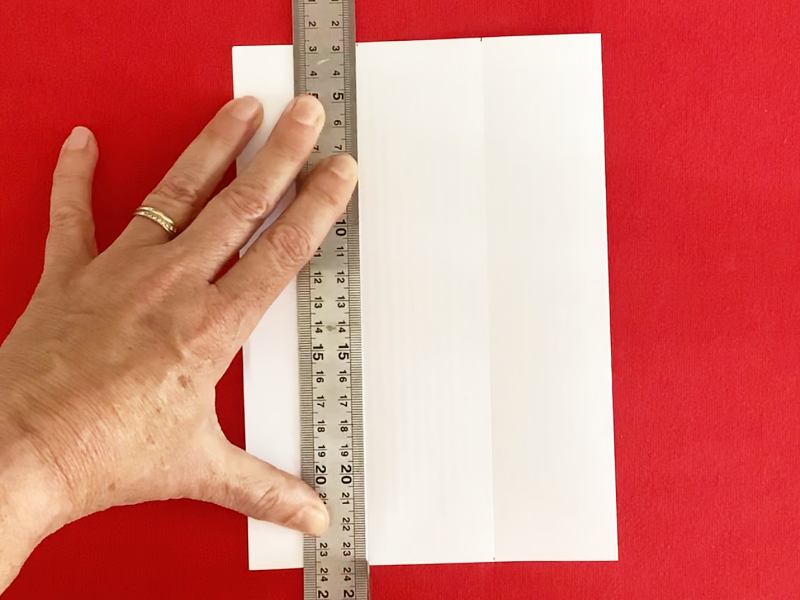
Fold one side along the score mark

And then the other side
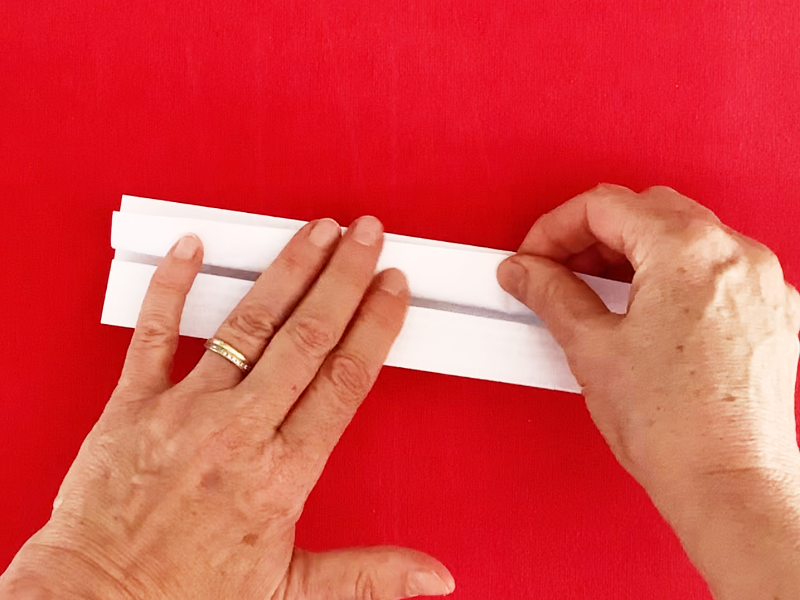
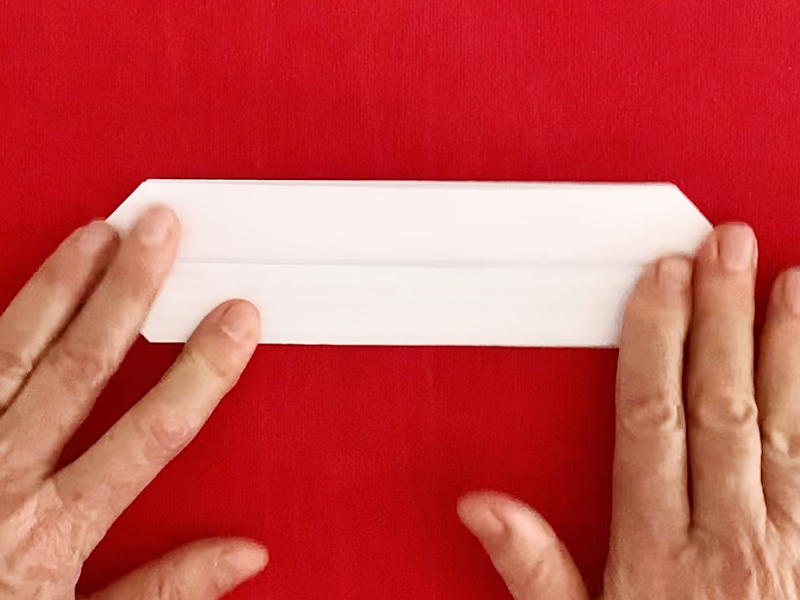
Fold each side back in half again

Open 1 side out again

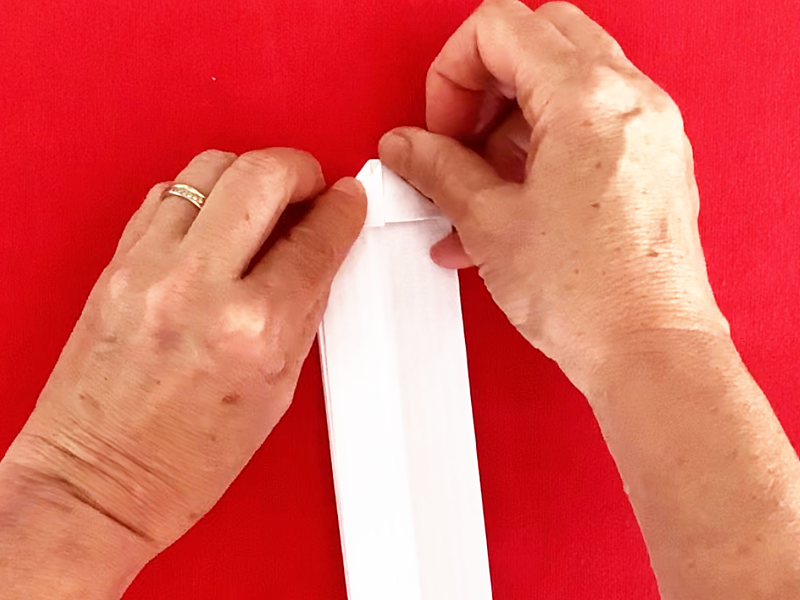
Fold the 2 top corners over toward the centre
Then fold the bottom 2 corners over. Close the folded side back down again
Repeat with the other side.
Your divider box is almost ready.
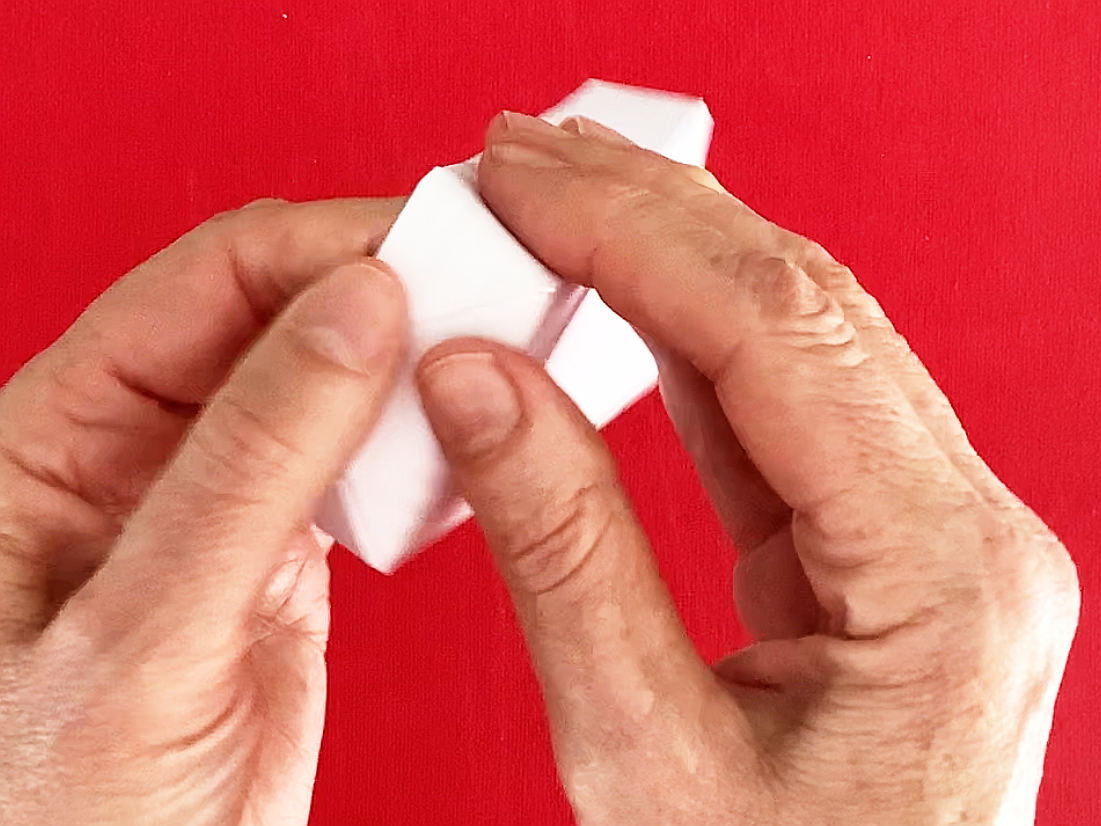
Pull the box open
Pinch the sides and the base of the box to form neat folds.
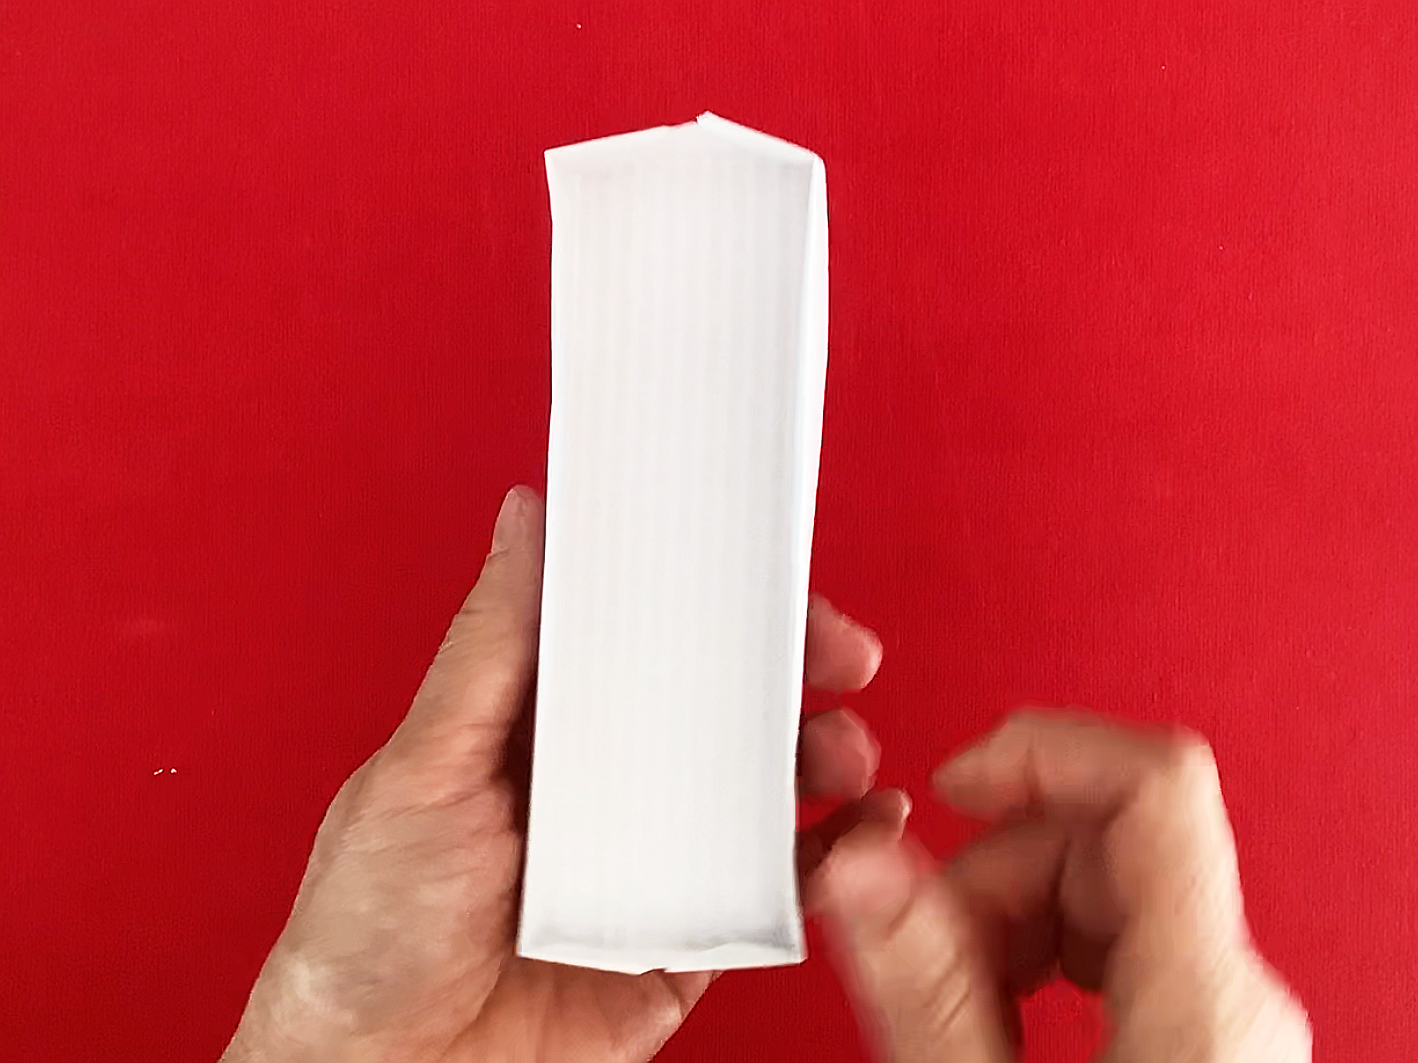
All finished

Finally fill with goodies and place in a drawer.
The finished size is 25mm high x 50mm wide x 160mm long. Would you like a larger version? Use 2 sheets of A4 paper. Place the printed sides together and do not fold the sheet in half in the first step. Importantly, remember to treat the 2 pieces of paper as if they were one. The double thicknes gives extra strength.
Enjoy making and sorting!
As seen on Pinterest