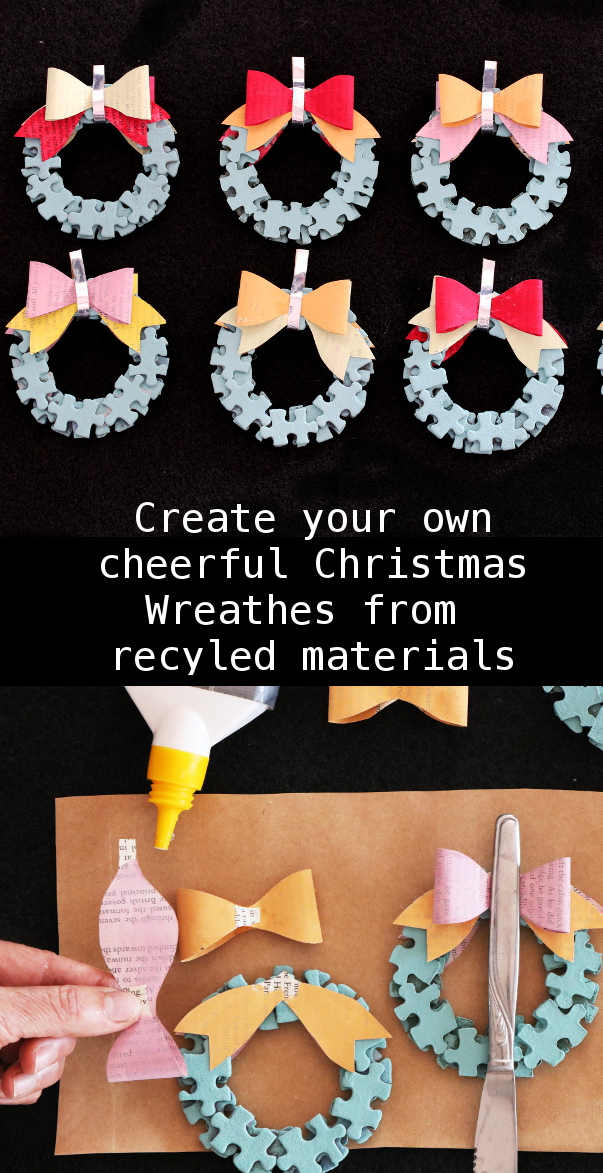
This set of Christmas Puzzle Wreaths were a delight to create from recycled materials. Can you tell just what I used? The puzzle pieces used for the round wreathes are obvious. The book paper, used for the bow decor, was washed in paint – to mask the print and add a colourful element. The silver came from the packaging of the coffee beans we buy. I loved the silver element, backed by paper, which made it easy to stick together with the PVA glue I always to use.

These wreathes are for sale right now at Overdale Farm in Kloof. Every year, they supply locally grown Christmas Trees to the neighbouring suburbs. We’ve been buying ours there for years and years. As a result, I am delighted to have some Freshly Found Puzzle Wreathes for sale too with their boutique selection of Christmas Decor Ornaments on offer.

I’ve documented the whole process. So – if you would like to make your own Puzzle Wreathes – This is how it was done:
What you need to make Christmas Puzzle Wreaths –
I used:
- An Old Puzzle – preferable one with a few pieces missing! The thicker the puzzle pieces the chunkier your decoration will be. The size of the pieces used here were approximately 35mm x 20mm.
- Old Book paper.
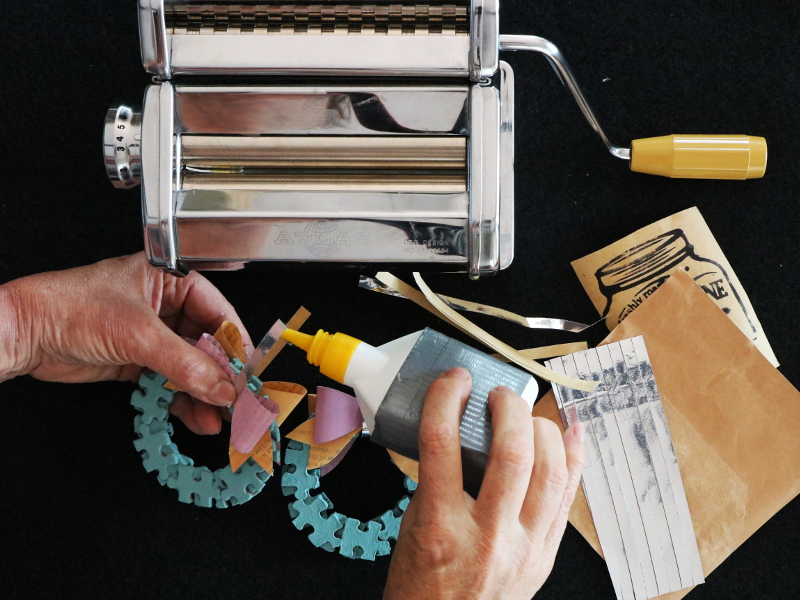
- Silver foil packaging backed with brown paper. I cut the paper into strips using my pasta machine. You could use a pair of scissors too.
- PVA glue
- Water based paint. I have a number of tins of Annie Sloane Chalk Paint at home – so I used a pleasing colour selection.
- An embroidery hoop or anything circular to shape the wreath. You could use the inside of a roll of tape. The inside diameter of my hoop was 95mm.
- An old non-stick baking tray to work on. You could also work on a plastic base to prevent any dripping glue from sticking to your work surface.

How to Make The Christmas Puzzle Wreaths
Firstly, I started by laying a round of puzzle pieces, face down around the inside edge of the hoop. Once that was in place, I added a second round by spreading some glue onto each puzzle piece and laid it over the base row pieces. (I made sure that each piece bridged the gap between two pieces from the row before – to make the structure strong. Finally I repeated the process for a third row. My puzzle pieces were quite chunky, so 3 rows was sufficient. You may need to add a few more layers if your puzzle pieces are thinner.
Repeat until you have enough puzzle wreathes for your liking. I made 48 in total from My 1000 piece puzzle!!!


Puzzle Wreath - Size Guide and Bow Pattern
To finish off, I coated the wreath rounds in paint, chosing a colour that was very similar to the back of the puzzle. I painted the top layer, and then once that was dry, I touched up the underneath with some paint too.
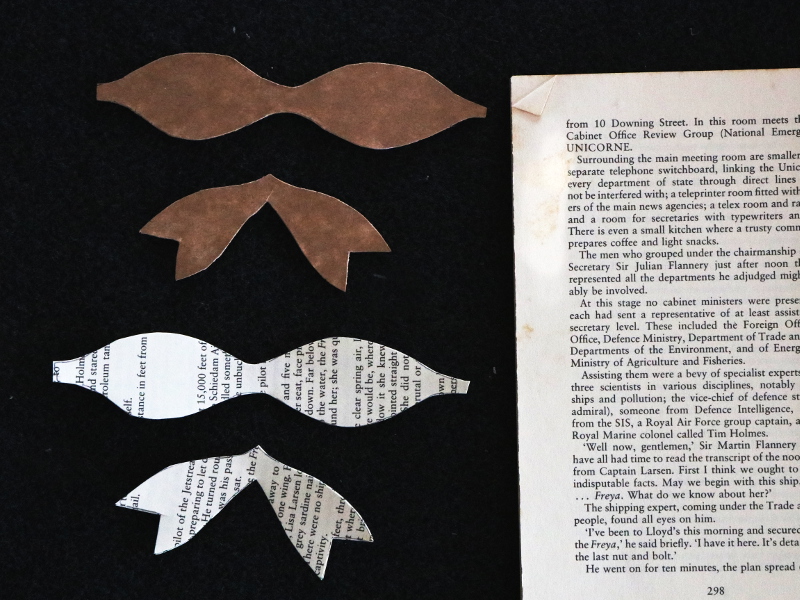
The Decorative Bow – I made a template and used this to mark out and cut the pieces from book paper. The pattern is available to download.
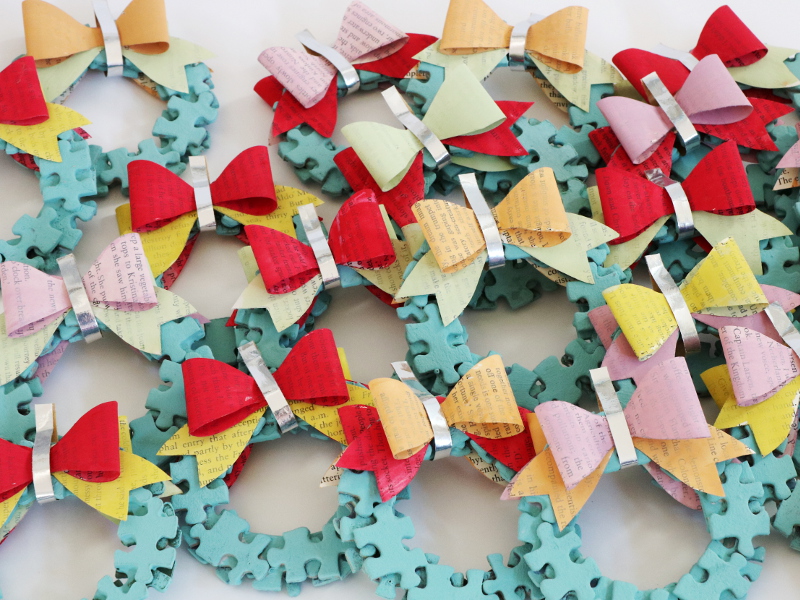
I colour washed the bow components in paint. This resulted in the print still showeing through – a tribute to the origin of the paper.


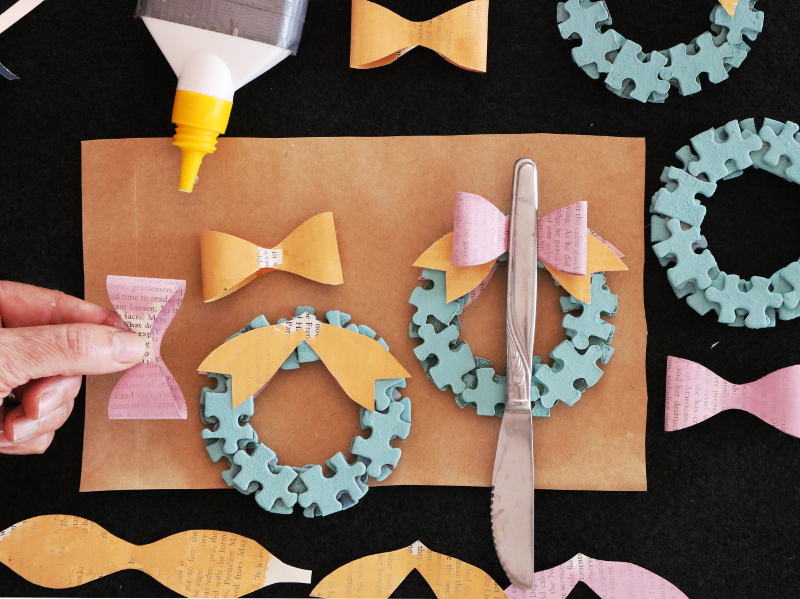
Christmas Puzzle Wreaths – Assembly
This next picture shows how I assembled and glued the bow components onto the wreath ring. I used an old knife to weight the bow done as it was drying.
(Note – To assemble the bow, glue points B underneath point A from pattern piece 1. These should be mounted on top of point C from pattern piece 2)
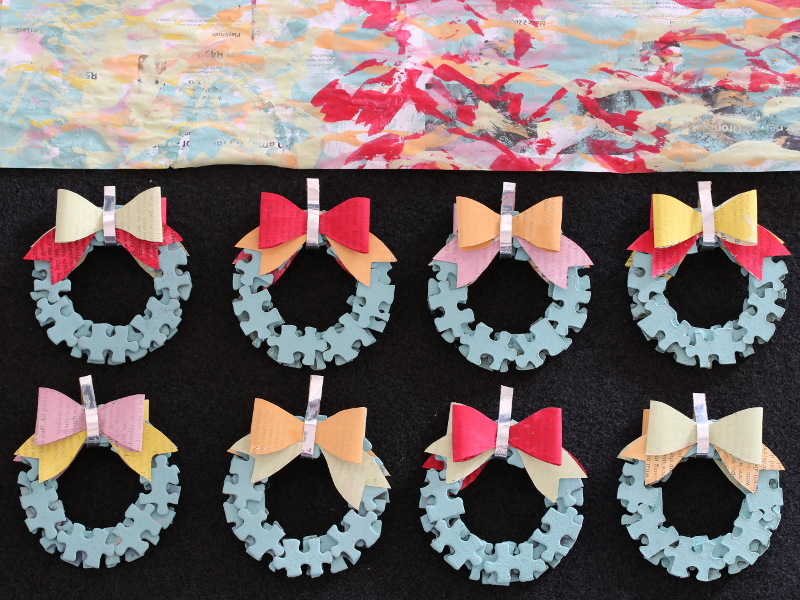
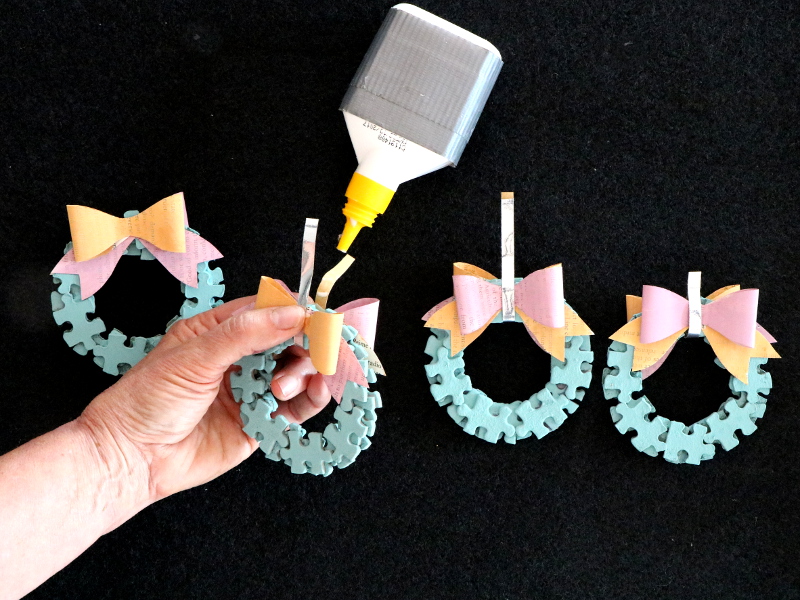
I added bows to both sides of the wreath, so that they would look good from any angle. Once I had finished the bows, I cut strips from the foil backed brown paper packaging. I wrapped the strips around the bows, and then added a touch of glue to fix it together. Once that was dry, I trimmed the silver tab to a pleasing length. The wreath is now ready to be hung on a nail on the wall or be looped over a branch on your tree. I later added a further thread loop through the foil tab to facilitate hanging. (not shown here)
The final image shows the Puzzle Wreathes with some of the paint drip paper. It looked so pretty once I had finished painting all the bits – that I just had to include it in one of the shots!
Enjoy making your own version of these textured decorations – with a story!