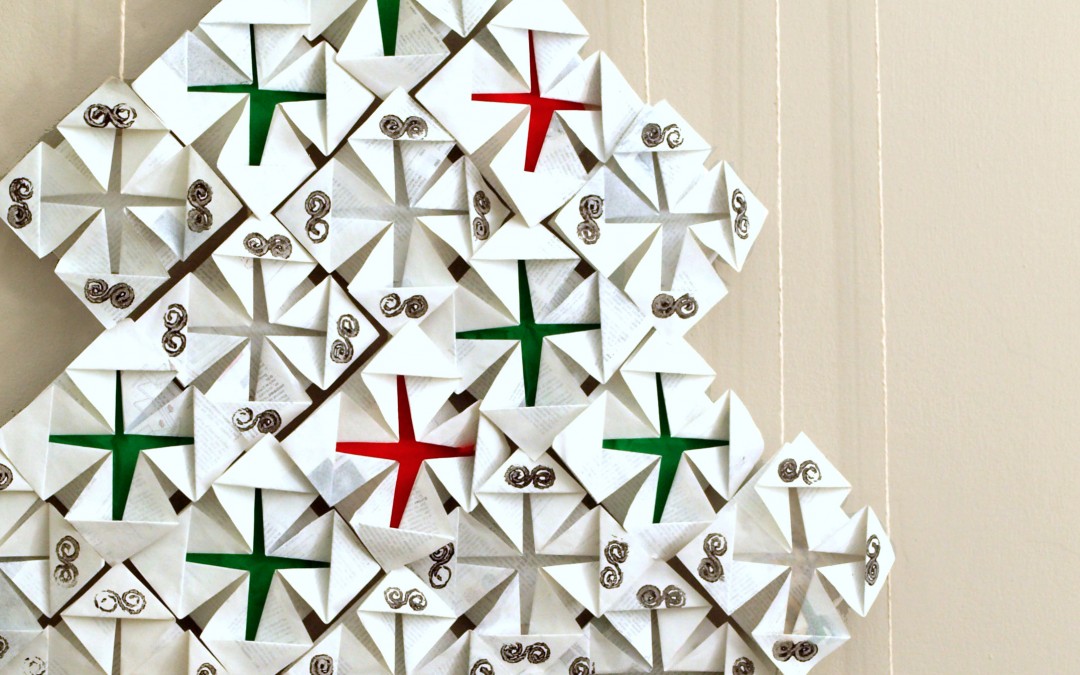
 This year some alternate Christmas decor is up and hanging in our living space.This Origami Christmas Tree was a delight to create.
I love the vibrant geometric textured feel.

It is made from individual folded squares of recycled paper, and strung together abacus-like to form a tree.
Here is a Pictorial to make up the squares. I used painted book paper squares for the tree, but I am using plain book paper to show the technique I used.
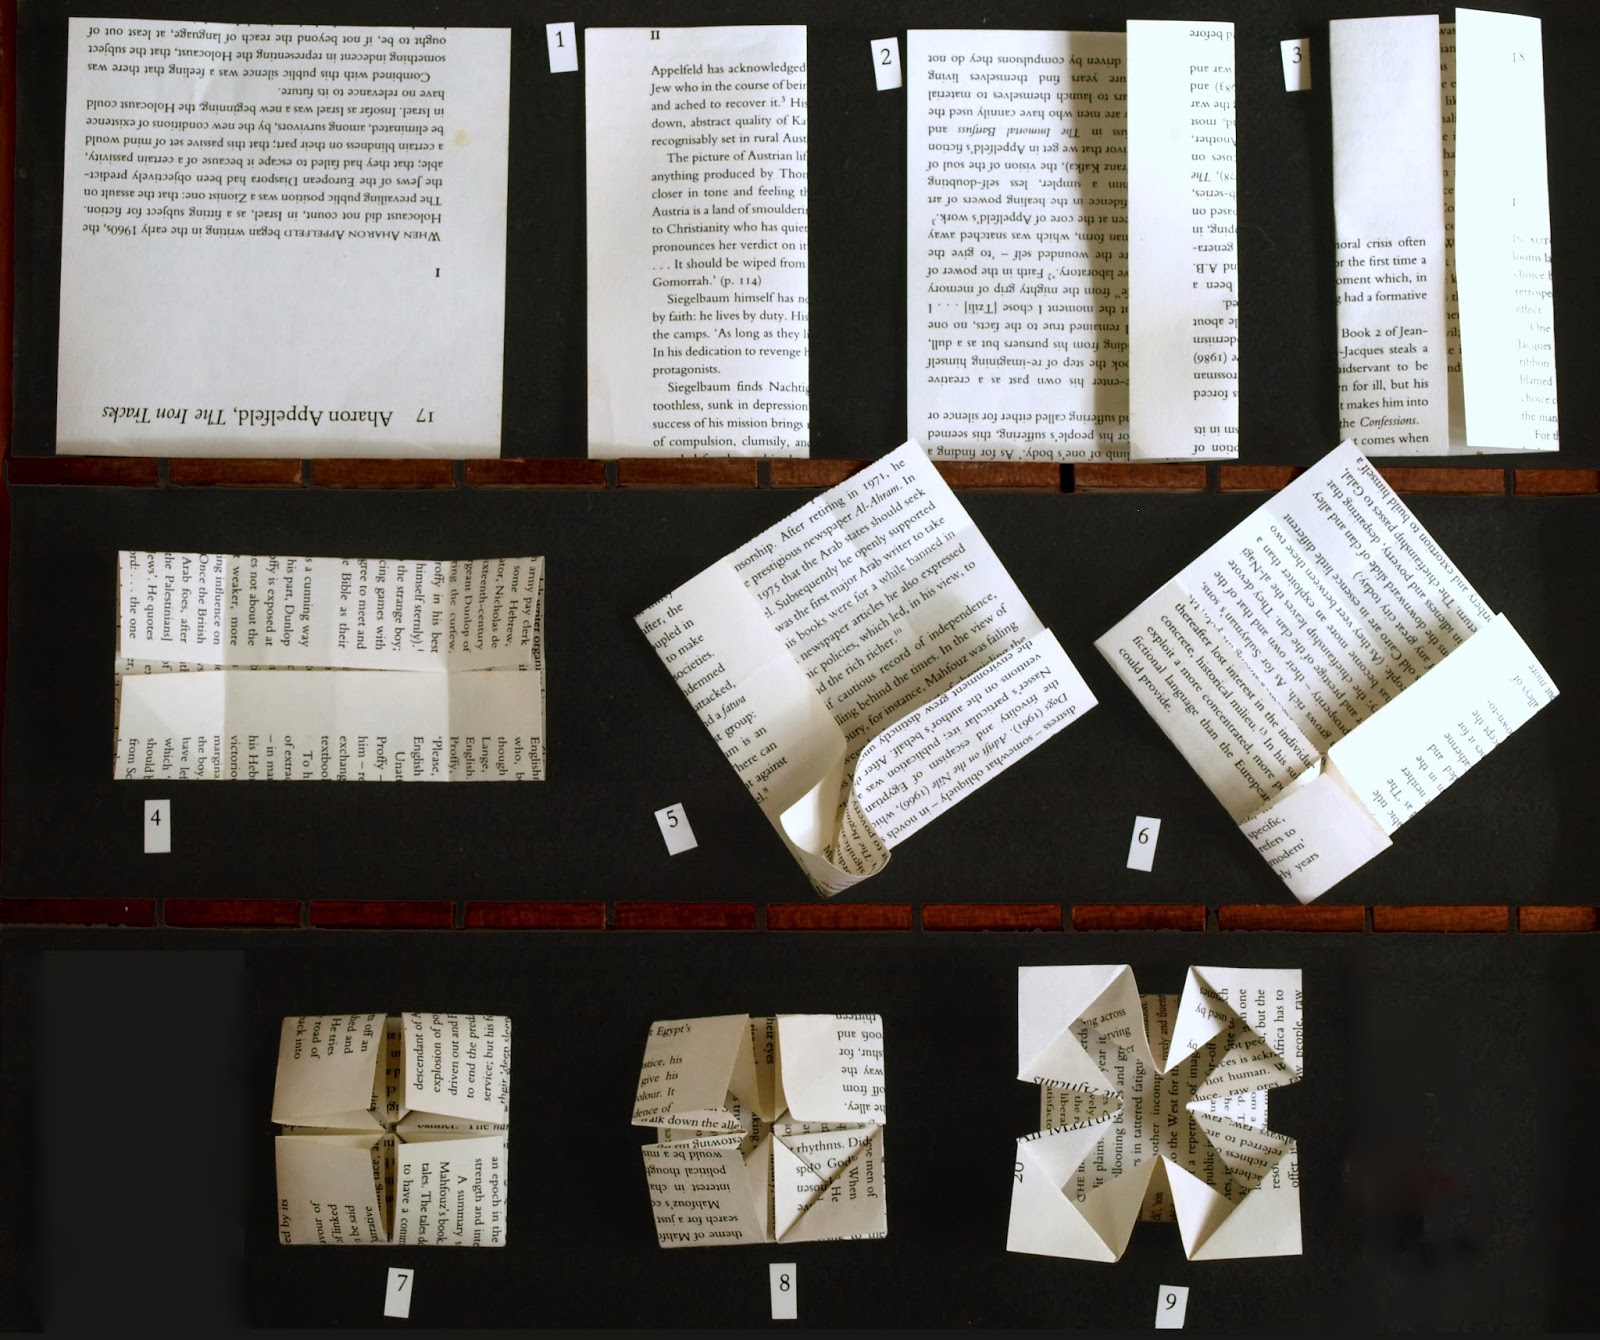 Slits were cut on the back of each square to thread the string through.
I used coarse string to create enough friction to keep the shapes from slipping down and out of position.
The tree was laid out on the floor before each string was threaded.

Each string was knotted around the paper rod.  Colourful tissue paper squares were inserted inside some of the shapes.
Next I’ll tell you about painting the book paper and the pattern I randomly printed on some of the squares.
The paint layer softens and almost hides the underlying print and gives the paper a lovely firm handle.
 To speed the drying process up, I placed the painted sheets in my thermo-fan oven for a few minutes. I only just switched the oven on, relying more on the moving air than the gentle heat.
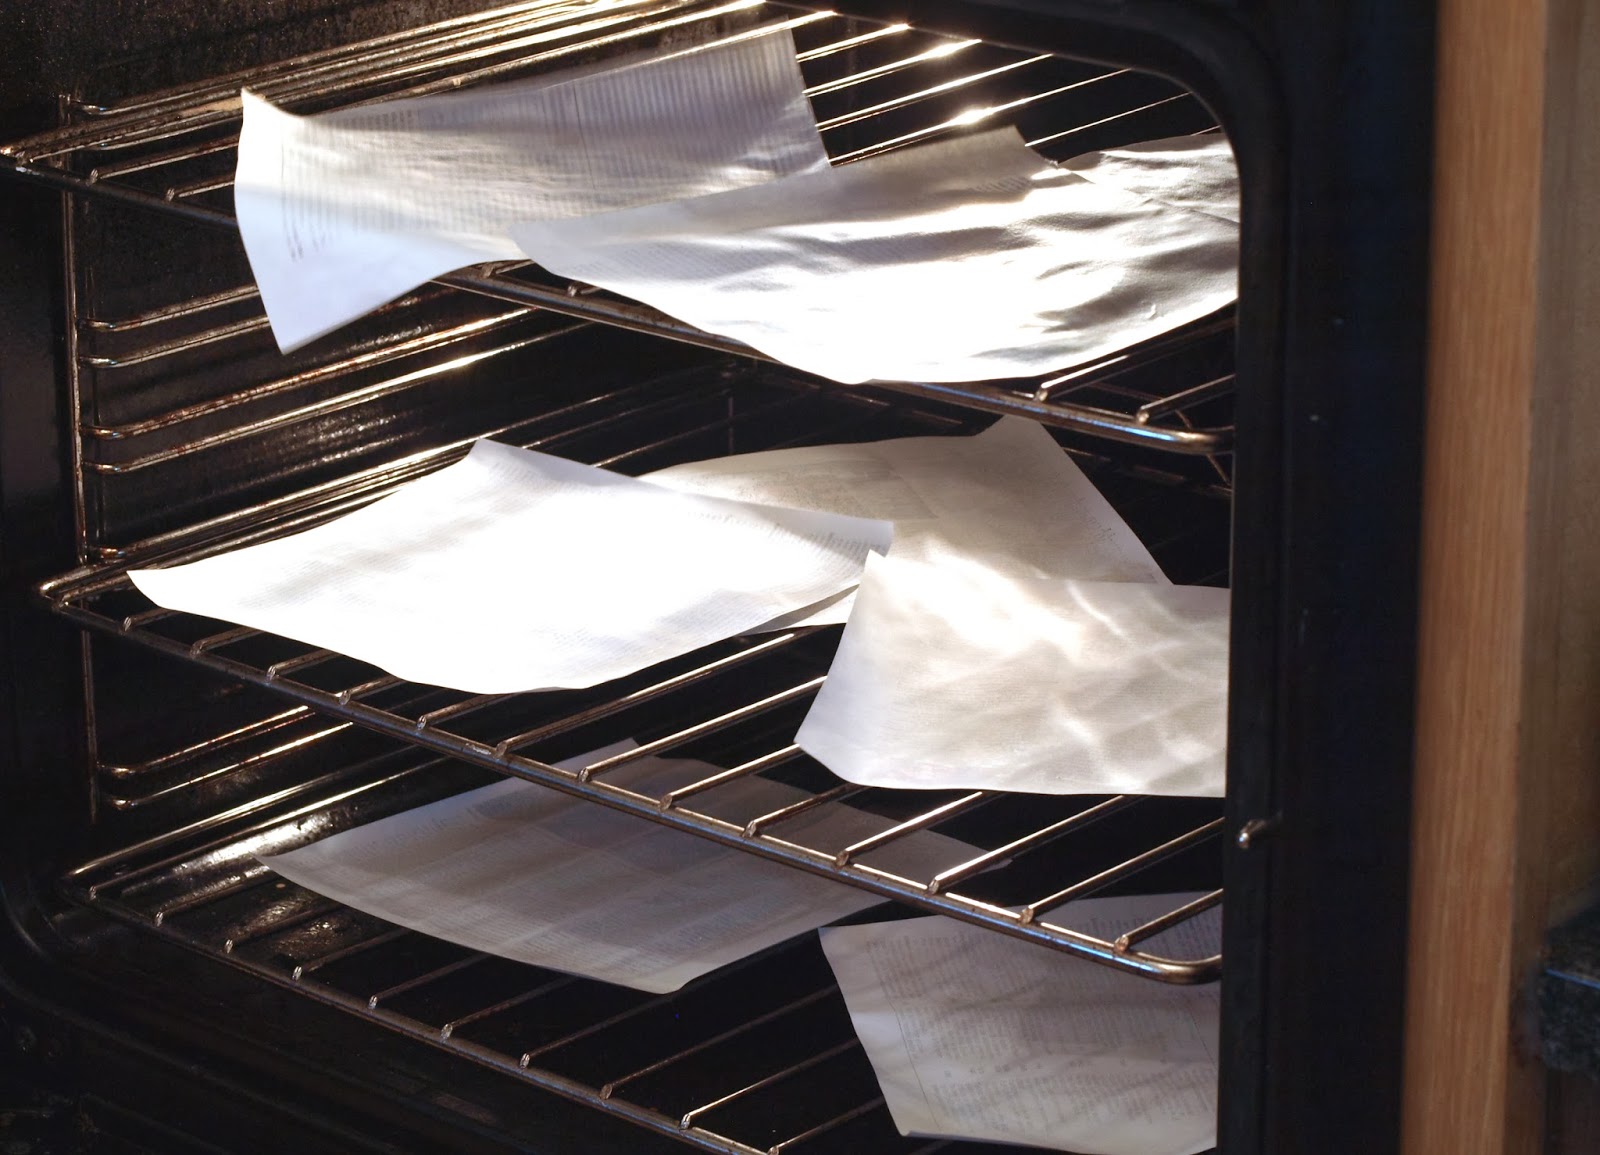 Afterwards I put the squares out to cool
 Once the squares were folded I printed them with a simple pattern. I made up a Collagraph plate – so named because of the collaged materials that created the patterned print.
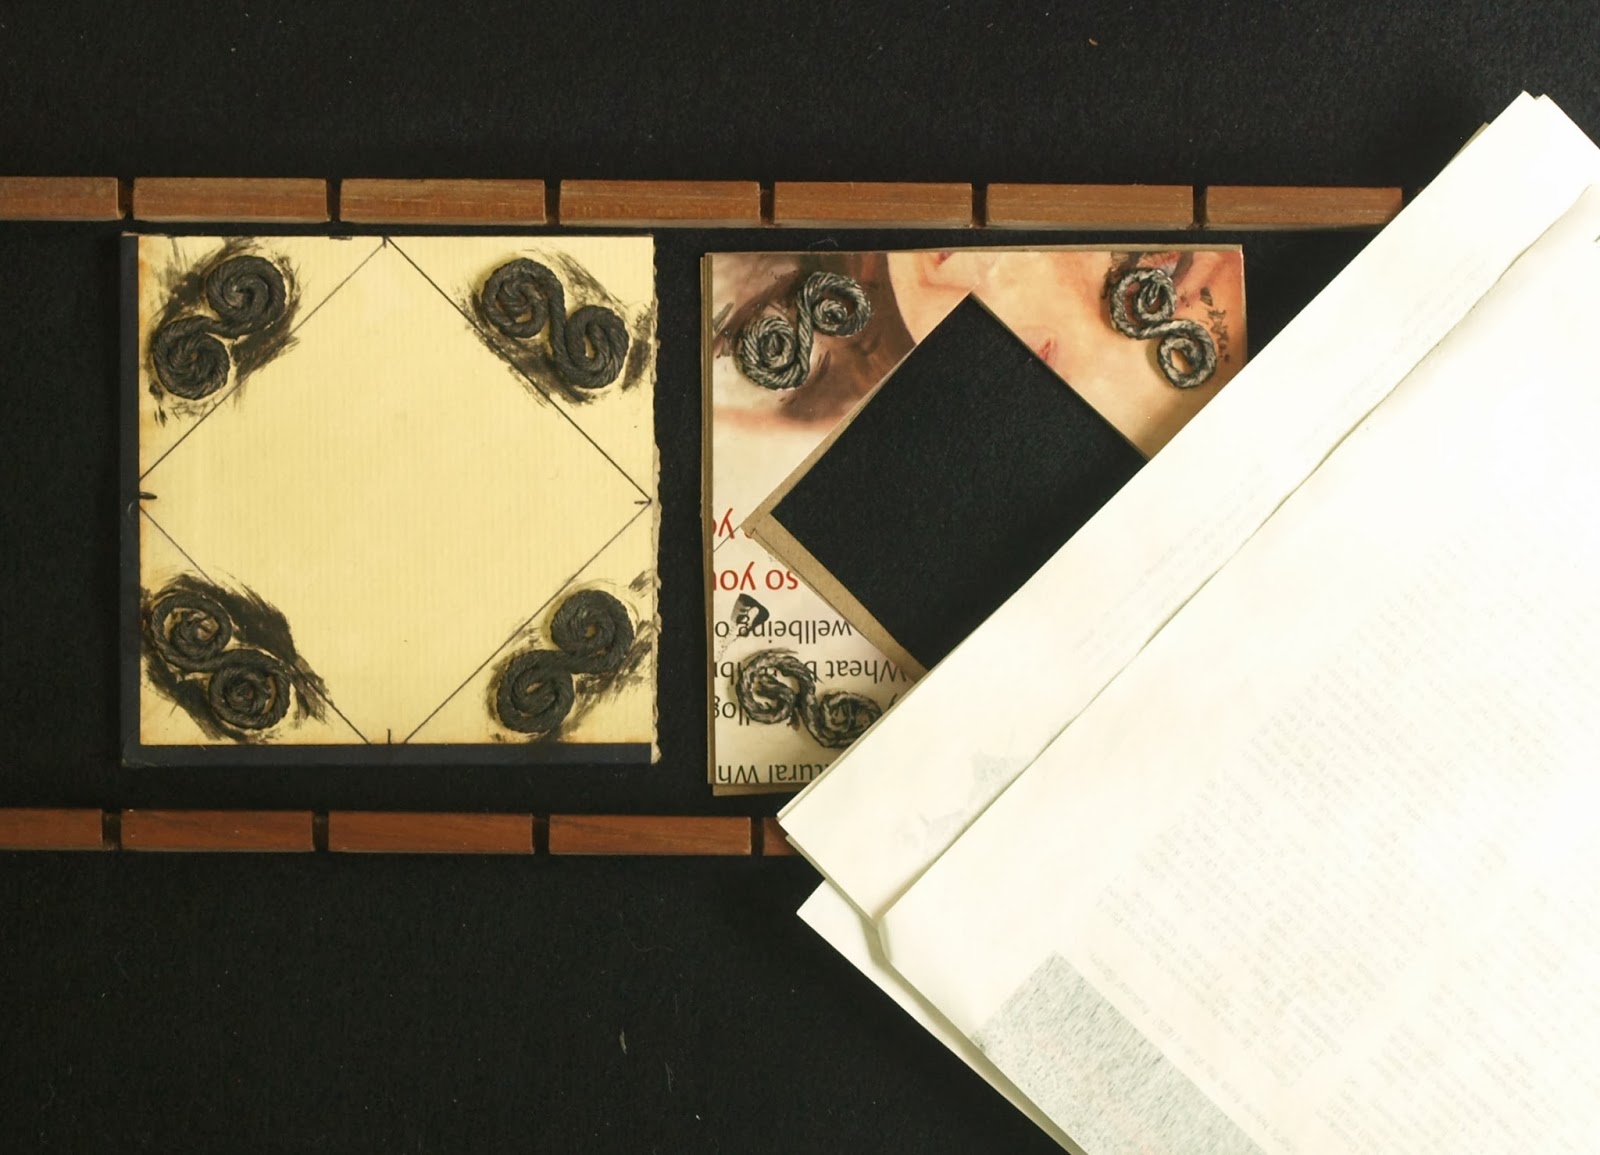 I used thick cardboard, and wound small string coils, which I glued on the corners. I sealed the string and cardboard with diluted wood glue. When this was dry, I brushed paint onto the coils, and then printed them onto the squares.